PRODUCING A PDI PANEL – basic instructions
The same principle can be used to design a print panel on one piece of paper.
(Written by Ann Smith)
Select between 5 to 9 images on a theme, adjust as required, and size as for a club competition i.e. 1600 pixels wide by 1200 pixels high, 180 dpi. Number the images, e.g. 1 – 9, in the order you wish to use them and place in a new folder.
(Using ADOBE ELEMENTS 11, EXPERT LEVEL)
Important: ensure that the dpi of all your chosen images and that of the new blank file is the same, otherwise you will find yourself constantly having to use Select > Edit > Transform to alter image size after importing image onto a new layer.
- >File >New>Blank file – size: width 1600 px wide by 1200 px high, Resolution 180 dpi, Background white. OK > Enter.
- Layer > duplicate.
- >File > Open > holding down Shift select all the 5-9 chosen images > Enter.
- Select and double click on the white background image.
- Select Move tool, click and drag 1st image onto duplicate layer, move image into position.
- Select 2nd image, drag up and position.
Continue with all remaining images.
- Click on top centre image. Click and re-position.
- Re-position other images in the same way.
If you wish to enlarge any / all image(s) place cursor over corner and drag outwards diagonally. Providing the double headed arrow is pointing on the diagonal the image will alter proportionally.
When happy click on green tick.
I judge the positioning by eye. If using the full version of Photoshop the grid or positioning guide can be pulled out to check that edges align.
Should you wish to use Text to title the panel do so on yet another layer. Just clicking on the icon will bring up the necessary layer.
The work may be saved as a psd file at this stage, which still allows access to the individual layers if the image requires further work at a later time. Otherwise I save as a jpg file after clicking on Layer > Flatten.
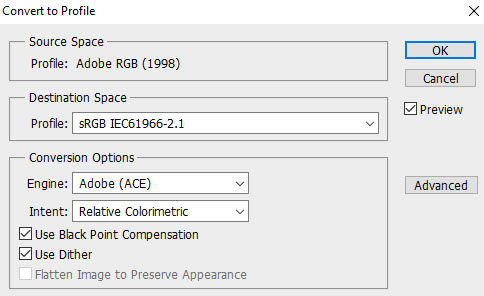
I choose to do all my file editing in Adobe RGB and save at the end as a tif file if I am going to print out on a large sheet of paper. Otherwise > Edit > Convert to profile > and choose Convert to profile – Destination Space.